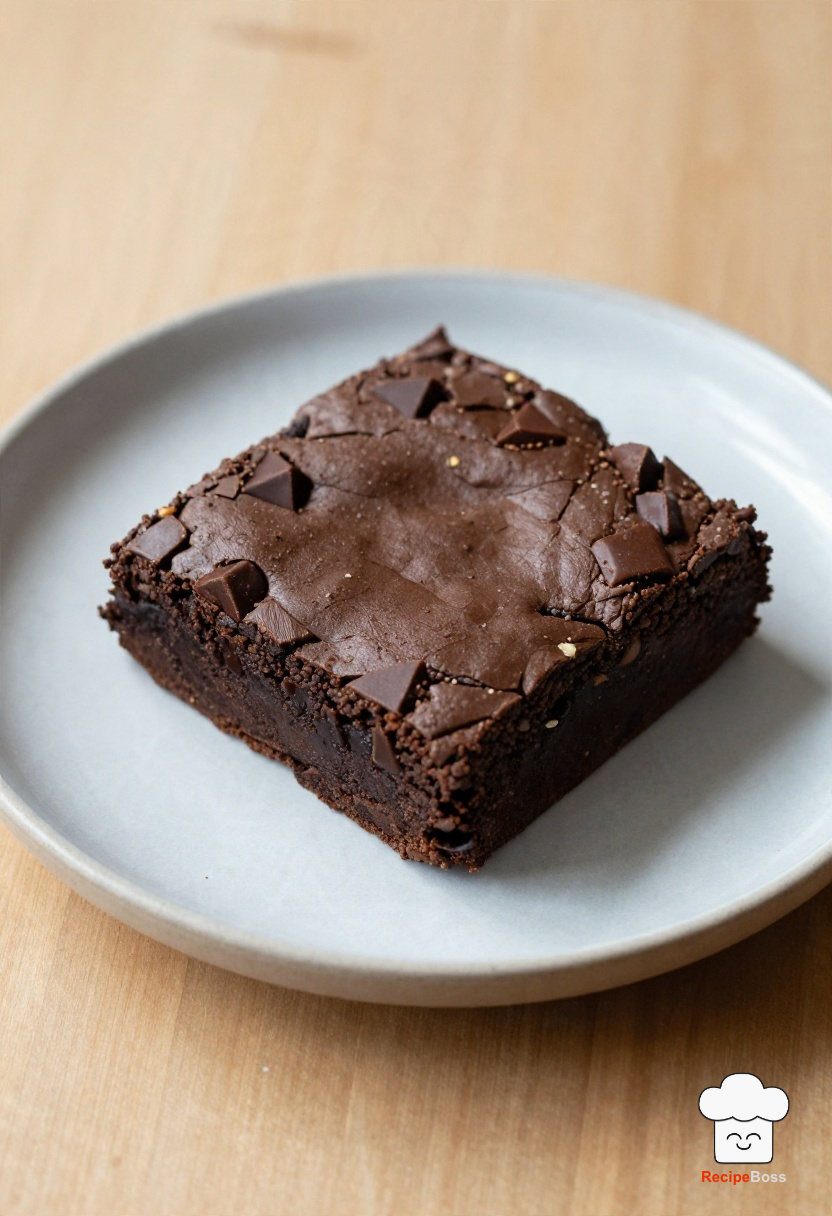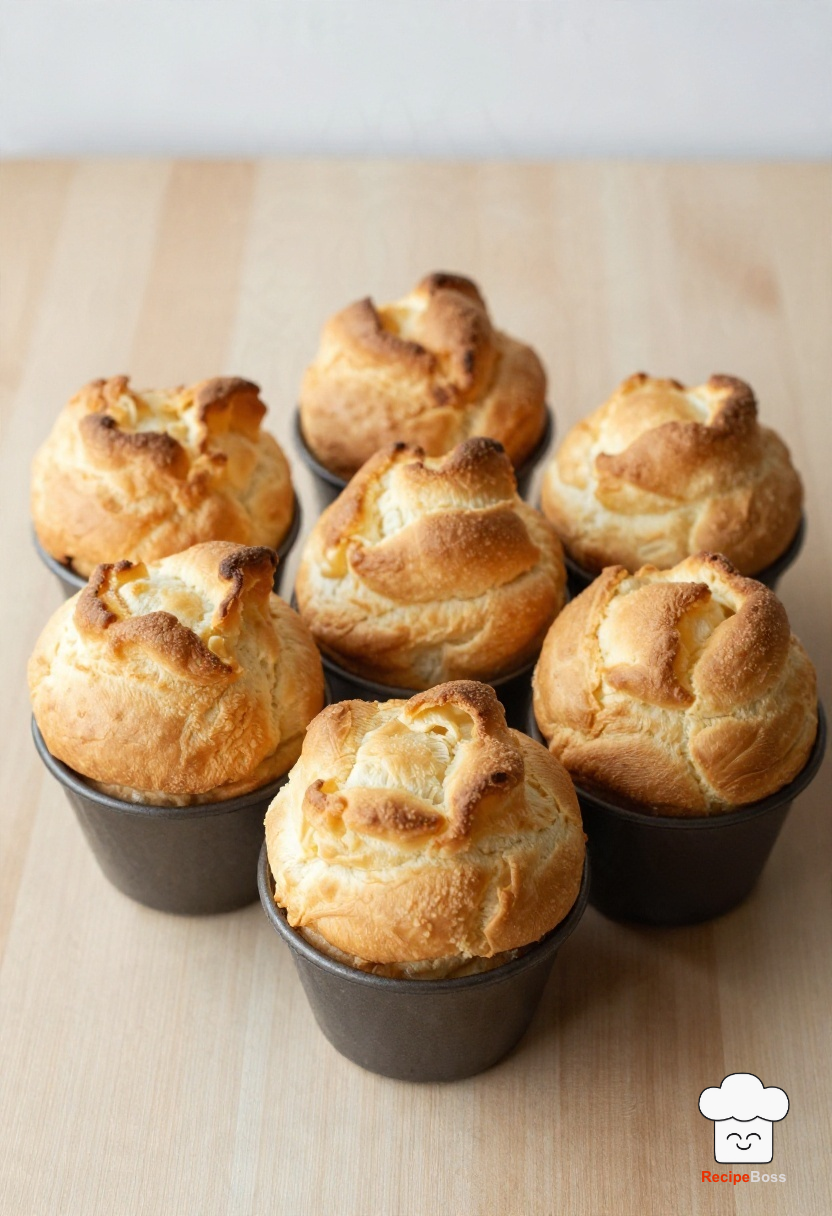

The quickest way to digitize handwritten recipe cards is to do it in two passes: first save a clear image of each card, then turn the words into text you can search and cook from. A phone and good light handle the first pass. For the second, you can type the recipe yourself or let an app read the handwriting, then check what it got wrong. Here's every method, what each one is good for, and where each one falls down.
Why do it in two passes
An image and a typed recipe do different jobs.
- •The image keeps the card. The handwriting, the margin notes and the butter stain on the corner are part of why the card matters. Only a scan or photo keeps those.
- •The text makes it usable. You can search it, scale it, share it with a cousin and read it on your phone at the stove.
Most people want both. If you only have time for one this weekend, do the images. A clear photo can be turned into text later. A card that fades or gets lost can't.
Method 1: Scan the cards with your phone or a scanner
Scanning gives you the cleanest copy of the card, flat and square, with the background cropped off.
On iPhone, the Notes app has a free scanner. Open a new note, tap the camera button, choose Scan Documents and hold the phone over the card. It finds the edges and straightens the image for you. Scan the back too if there are notes on it.
A flatbed scanner is worth using if you have one and the cards are fragile or very faded. Scan at 300 dpi or higher so small, faint writing stays readable when you zoom in.
Whichever you use:
- •Put the card on a dark, plain surface so the edges stand out.
- •Use daylight from a window, not an overhead light that throws your shadow across the card.
- •Save the scans somewhere that backs up, such as a Photos album or a folder in your cloud storage, with the recipe name in the file name.
Method 2: Photograph them with your phone camera
If you've got a whole box to get through, plain photos are the fastest way to save the images. Set up once and work through the stack:
- •Lay the card flat next to a window.
- •Hold the phone directly above it, not at an angle, so the writing doesn't skew.
- •Tap the card on screen to focus, and turn off the flash (it bounces off glossy cards).
- •Check each photo before you move to the next card. Blurry ones are easy to miss.
For faded pencil or brown ink, open the photo in your phone's photo editor and raise the contrast and brightness a little. It often makes old writing readable again, for you and for any app that reads it.
Put the photos in their own album, such as "Family recipes", so they don't disappear into your camera roll.
Method 3: Type the recipe out by hand
Typing is slow, but it's the most reliable. You read every word, and you're the one deciding what "a good handful" or "bake till done" means.
A few tips to make it worth the effort:
- •Type it exactly first, then tidy. Keep the original wording in one version, then add a cleaned-up version with modern measurements if you want one.
- •Ask whoever knows the recipe. If a family member still makes it, ask them what "1 c. flour, scant" really means while you can.
- •Split it into ingredients and steps. Most recipe apps and documents expect that layout, and it's easier to cook from.
Typing suits a few cards that really matter. For a full box, it's a long project.
Method 4: Use an app that reads handwriting
This is where most people want to end up: take a photo and get a typed recipe back. It works well for clear handwriting and less well for tight cursive, faded pencil and family shorthand. Treat whatever an app gives you as a first draft.
There are two kinds of tools:
General text readers. On iPhone, Live Text lets you select and copy text from a photo, and other OCR (optical character recognition) apps do the same. They give you plain text, which you then paste into a note or a recipe app and sort into ingredients and steps yourself. They do best on neat print.
Recipe apps that import from a photo. These read the photo and lay the result out as a recipe, with an ingredients list and numbered steps, ready to save. That saves you the sorting.
RecipeBoss is one of these, on iPhone. In the chat, tap Import recipe, then take a photo of the card or pick one you've already saved in Photos. RecipeBoss reads it, handwritten cards included, along with printed recipes and cookbook pages, and shows you a draft of the recipe. You check it and fix anything it misread before you save. It does one photo per import, so you work through a box one card at a time. You can try it free with 2 saved imports a month, and Premium gives you unlimited imports.
Once a card is in RecipeBoss, it's a recipe you can actually cook from: Cook Mode has a timer, and the amounts change when you change the number of servings. There's more on what RecipeBoss does on its own page.
We tried it on two cards from a family recipe tin
We pulled two cards from a family recipe tin and imported each one with a single phone photo.
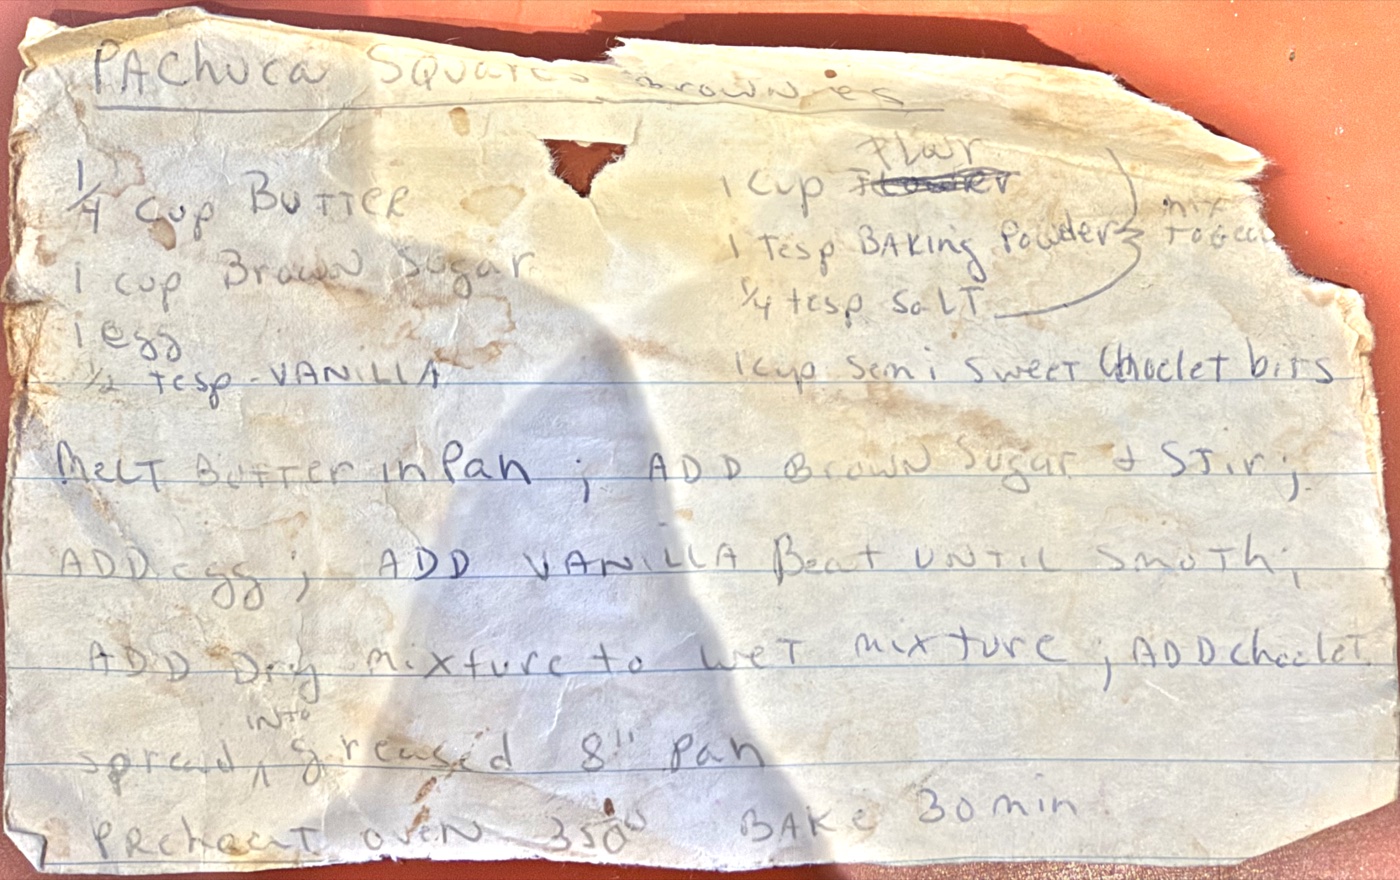
Pachuca Squares brownies is the worse of the two: torn along the top, stained and fading. RecipeBoss still pulled out all eight ingredients, from the ¼ cup of butter to the semi-sweet chocolate bits, and the method down to "bake 30 min" in an 8-inch pan. It kept the card's capital letters, which you can tidy up in the draft if they bother you.
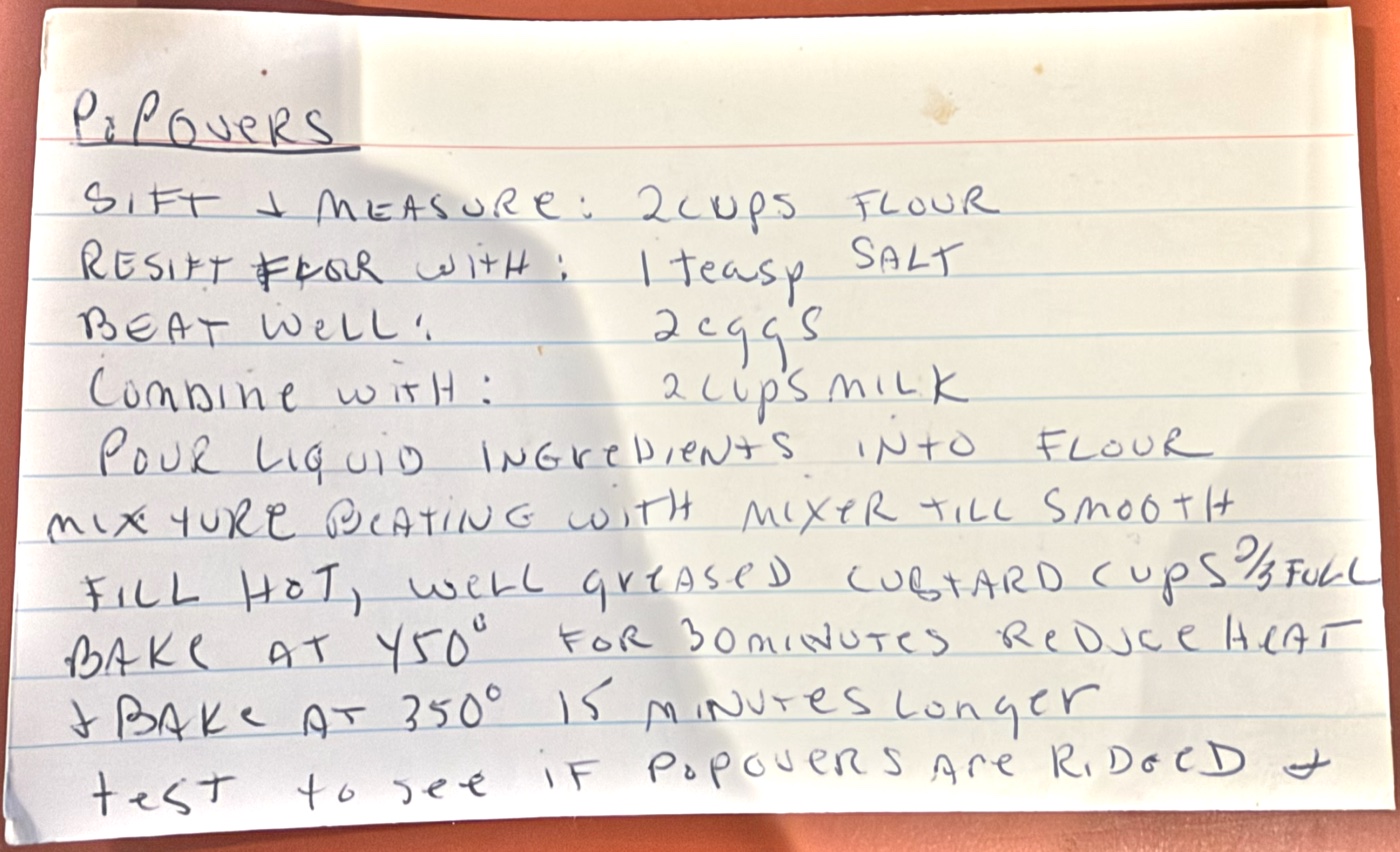
Popovers is neat print on a lined index card, but the layout is unusual: the method runs down the left side ("Sift & measure", "Beat well", "Combine with") with the ingredients beside it. Our first import treated those left-hand words as labels and skipped them, and it listed the time as 10 minutes when the card says 30 minutes at 450° and another 15 at 350°. A second import got every step and the full time. That's exactly why you check the draft against the card before you save.
What to check in any app's draft
Handwriting apps tend to slip in the same places, so check these against the card every time:
- •Numbers. A 1 can come out as a 7, and ½ can come out as 1/2 or vanish.
- •Units. "t" and "T" (teaspoon and tablespoon) are easy to swap, and the difference matters.
- •Oven temperatures and times. Make sure the numbers and the units (°F or °C) match the card.
- •Steps written as labels. If a card puts the method in a column next to the ingredients, make sure those words made it into the steps.
- •Abbreviations and nicknames. "Oleo", "pkg." and "Mrs. B's sauce" need a human.
- •Anything in the margins. Notes like "double the lemon" are often the best part, and apps can skip them.
Method 5: Keep the original card image with the recipe
A typed recipe doesn't keep the handwriting. If you want to see Grandma's writing when you cook, plan to keep the image as well. RecipeBoss doesn't keep the photo you import from, and plenty of apps are the same, so don't rely on the recipe app for this.
Simple ways to keep the two together:
- •A Photos album of every card, with the recipe name in each photo's caption, so you can search for it.
- •A shared folder in your cloud storage with one scan per card, named to match the recipe in your app.
- •A note in the recipe's notes field saying where the original scan lives.
And look after the cards themselves. Store them flat in acid-free photo sleeves or a recipe box away from the stove and sunlight, and cook from the digital copy so the paper stays clean.
Which method should you use?
- •A few precious cards: scan them, then type them out yourself.
- •A full box you want to cook from: photograph them all first, then import them one by one with a recipe app that reads handwriting, checking each draft.
- •Very faded or fragile cards: flatbed scan at 300 dpi or more, raise the contrast on a copy, and type them out by hand.
- •Sharing with family: keep the scans in a shared album or folder, and send the typed recipe alongside.
Whichever you pick, do the images first. They're the part you can't redo later.
Final Thoughts
Digitizing handwritten recipe cards isn't one job, it's two: saving the card and saving the recipe. A phone camera or the Notes scanner covers the first in an afternoon. Typing, a text reader or a recipe app covers the second, as long as you check the draft against the card.
If you'd like the cards in an app you'll actually cook from, try importing one card with Recipe Boss on the App Store, then see the other ways to use RecipeBoss once your family recipes are in. Both of our tin's recipes are below if you want to bake them.